


July 9, 2026

Description
A drawer box whose key is a capybara. It only opens when you set **two
capybara figurines on the lid pads** — the capybaras are the keys. Each one
hides a magnet that lifts a concealed lock pin off the drawer's rail. Lift both
pins at once and the drawer slides; remove the capybaras and it self-locks. One
capybara alone won't do it — it's a two-capybara combination.
The two lid pads are engraved with capybara silhouettes (a 2-color AMS inlay)
so you know where the keys go, and the drawer pull is a little capybara head.
The two key figurines are included in this download — this is one complete set.
Under each lid pad sits a snug chamber holding a loose disc magnet — the lock
pin. Directly below, the drawer has a centre rail with a pocket (notch)
under each pin at the closed position. Both pocket walls are vertical, so a
seated pin is a shear pin that blocks the drawer in both directions:
Locked (no keys): each pin drops into its pocket → pull or push, it jams.
- Unlock: set a capybara on each pad — its belly magnet lifts the pin clear
of the rail → the drawer slides.
- Re-lock: push home and lift the keys off → the pins drop back into the
pockets. A tiny weak magnet under each pocket keeps the box locked even if you
turn it upside-down and shake it — only the stronger capybara magnet, from the
pad side, can pull a pin out.
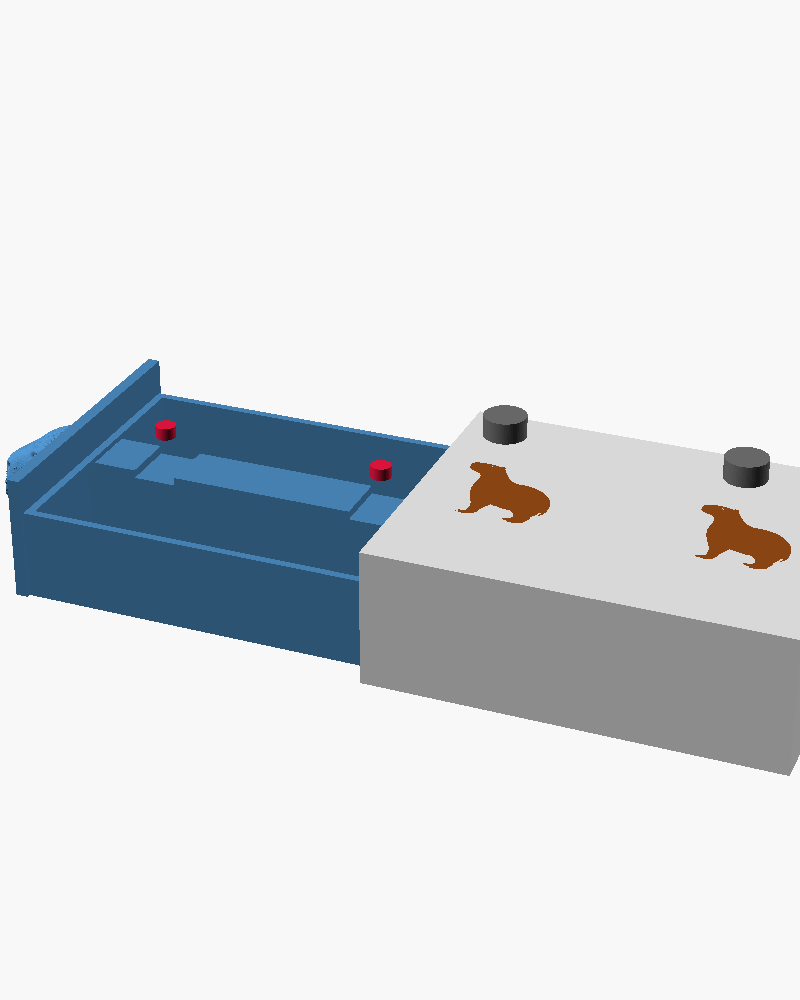
| STL | qty | color | role |
|-----|-----|-------|------|
| capybara_lock_box_2c.stl| 1 | grey + brown | body + engraved silhouette inlay (two named solids → Split to Parts) |
| drawer.stl| 1 | any | sliding drawer, centre rail + two shear pockets + two sealed weak-magnet recesses |
| capyhead.stl| 1 | any | capybara-head drawer pull (friction-fits / glues onto the drawer face peg) |
| capybara_key.stl| 2 | tan | the keys — print two; a Ø10×5 disc is sealed under each belly |
| magnet | qty | where | job |
|--------|-----|-------|-----|
| Ø10×5 mm disc | 2 | loose in the two lid chambers | the lock pins |
| Ø10×5 mm disc | 2 | sealed under each capybara belly | the keys |
| Ø5×3 mm disc | 2 | sealed in the drawer rail under each pocket | anti-flip hold |
Polarity matters (it's a magnetic lock): orient every Ø10×5 disc the same way.
Each capybara belly magnet must attract (lift) the loose pin below it, and each
weak Ø5×3 magnet must attract the pin's bottom face to hold it down. Easiest
method: stick each loose pin to a capybara's belly magnet so they self-orient to
attract, mark the pin's up-face, and set every weak magnet to grab a spare pin the
same way. Get one backwards and that station won't unlock (or won't hold) — pop it
out and flip it.
All parts print flat, no supports.
body + inlay — from capybara_lock_box_2c.stl: in Bambu Studio, Import →
right-click → Split to Parts, assign a filament to each of the two solids
(grey body, brown silhouettes). Prints deck-down (pads on the bed → crisp
2-color). No pause — the loose-magnet chambers are loaded after printing.
- drawer — floor-down. PAUSE at layer 71 (print-z 14.2 mm @ 0.2 mm
layers) and drop a Ø5×3 weak magnet into each of the two rail recesses, then
resume — a 6.5 mm cap seals them. *(The .scad echoes the pause as model-z 16.7 mm,
but the slicer drops the drawer 2.5 mm to the bed → the real pause is layer 71.)*
- capyhead — flat back down, nose up, supportless.
- capybara keys ×2 — PAUSE each at z ≈ 7 mm and drop the Ø10×5 belly disc,
then resume; the next layers bridge over and hide it.
Load the lid pins. Tip the body upside-down (pads down) and drop one
Ø10×5 loose magnet into each lid chamber — correct pole up. Each rests on a
lip that keeps it captive but lets the capybara's field through.
2. Slide the drawer in from the front while the body is still tipped, so the
pins can't fall out. Near home you'll feel a firm one-time snap past the
travel-stop nibs. Push fully home → each pin drops into its pocket = locked.
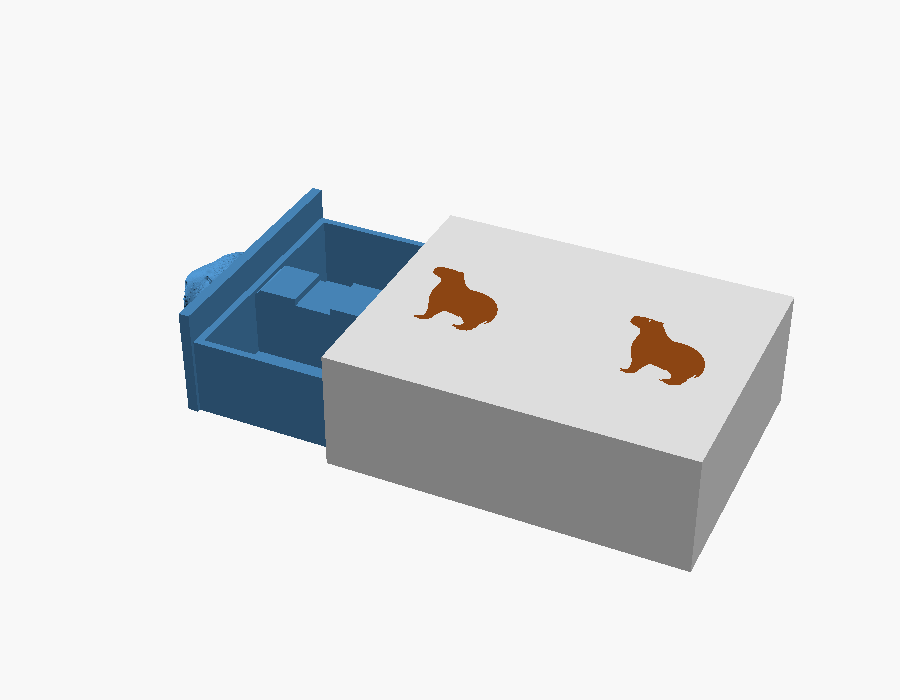
Locked check: with no capybaras, the drawer should not move either way.
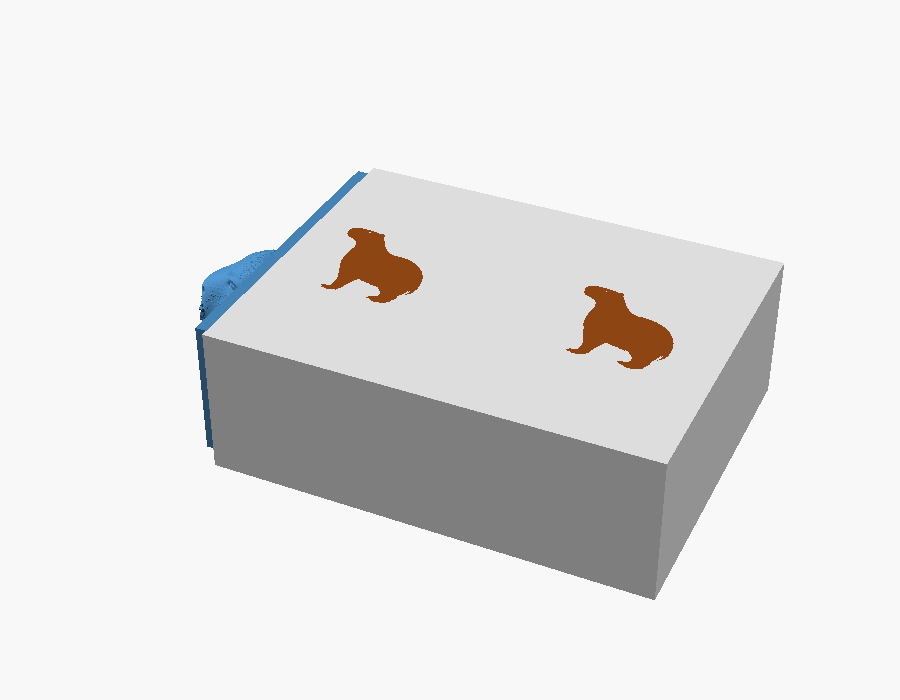
Captive check: unlock (both capybaras on) and pull — the drawer stops hard
after ~40 mm and won't come all the way out, so the pins can never escape.
#
License:
Creative Commons — Attribution
9




 Miloslav Brožek


