July 3, 2017

Description
3D Printed case for Raspberry Pi 1 B+ (or 1B).
working video: https://youtu.be/n1TOkIIqKnI
Working on a case w/ same shape but for Raspberry Pi 2 or 3.
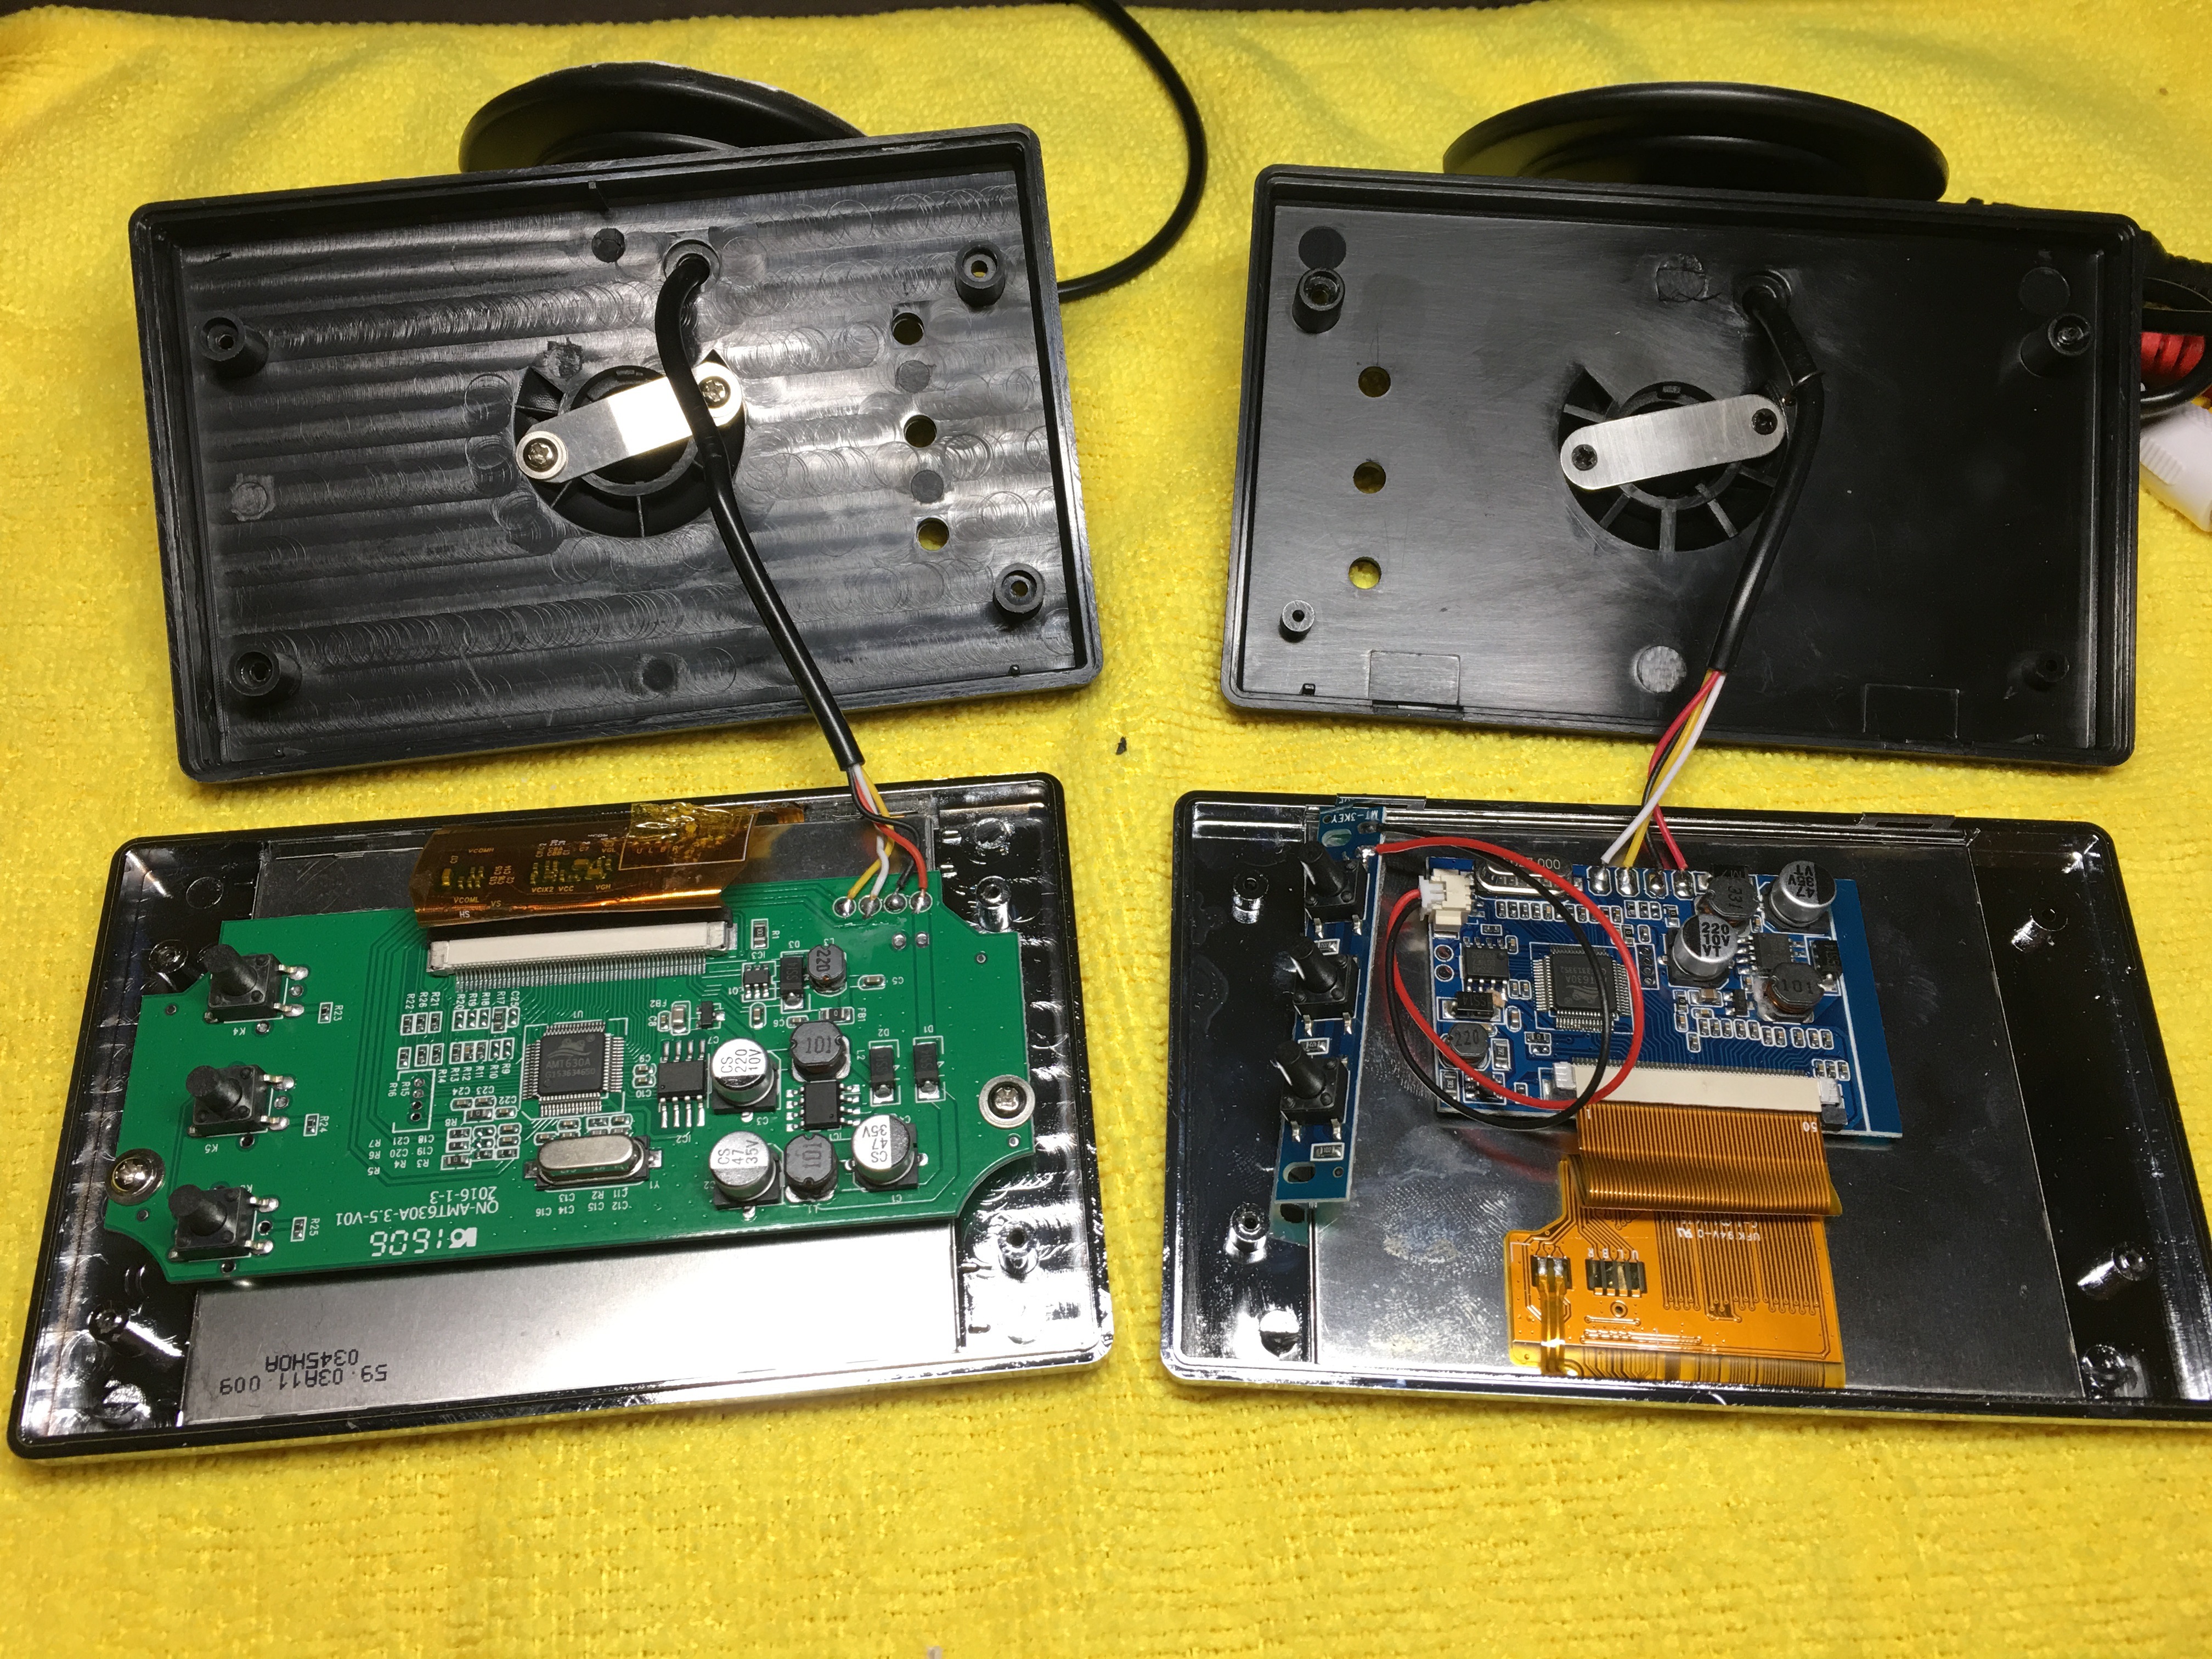
I started this project just to make a nice case for my Raspberry pi 1B+ I already have. I used to used Pi for KODI machine for my small old TV. But while making the case, I decided to make the Pi to have more functionalities. So add a bit more functionalities like the Sensor connection for monitoring air quality or some environmental parameters like temperature, CO2, and so on. To show them on my BMO raspberry pi, I added the screen. (purchased from aliexpress. 3.5 inch Rear view monitor.)
To make case assembly easier, I separated main parts into 5 pieces. (and some small buttons, arms, legs, BMO letters, and guide brackets.) You can make BMO with main 5 parts and buttons if you don't make reset button and the screen on it. Screen can be replaced to a paper or an acryl panel, The way implementing it is up to you.)
I soldered 2 points on the board for reset switch and composite cable. And use 5V-12V Step-up Converter board to supply a power for a screen. (I know it could work with 5V power if I modify a board a bit. But I didn't wanna solder too much. So, I decied to use converter. You don't have to solder much if you don't want to use the screen on it.
Connecting reset switch: Basically, Raspberry pi provides reset jumper, But it is not connected by default. solder a jumper head on JP6 and add a tactile(push) switch. I recommend to use 12mm×12mm square head push button for my design. Only reset and wakeup from halt was enough for me. If you need more function like safe shutdown, refer the link below.
http://www.raspberry-pi-geek.com/Archive/2013/01/Adding-an-On-Off-switch-to-your-Raspberry-Pi
Screen: To save GPIO, i didn't use the screen using GPIO parellel connection. Instead, I chose 3.5 inch LCD screen for Car rearview monitor and connect the power, composite video signal. Many 3.5" composite screens are sold on the market. I recommend to.use the product with small controller board, like what you can see on the link:
http://sudomod.com/wp-content/uploads/2016/04/IMG_2572.jpg
Power source for the monitor: I used 5V-12V step-up converter, You can easily find it on the market. It doesn't have to be exactly same with mine. But I recommend to use the converter which support 1A. And solder a Jumper to a composite signal pin. (with or without the composite connector desoldered)
Sound: At first, I directly solder small speaker to the analogue audio output port. But the signal strength from the analogue audio port is not enough to drive the speaker to make loud enough to hear. So I decided to connect the amp in the middle. You can easily find the amp board w/ volume knob that costs $1.5ish. From the specification, impedance of the audio amp is 4ohm, but it works fine with 8ohm speaker I have. If you use raspberry pi with TV and if you don't need a sound w/ not that good quality, you can ignore it.
refer the image: http://img.dxcdn.com/productimages/sku_419649_3.jpg
Showing BMO's face during the boot procedure: My BMO shows two different faces while booting. The first one is enabled by Retropie setup menu. And I found another way to enable the splash screen at a different moment. Please see the link below. For the images of BMO's faces, you may easily find on the internet or make the images yourself. But you need to resize or change the resolution setting to make it be shown correctly. 1920x1080 is recommended for the resolution of the image to make it be shown full screen.
Recommended screws for assembling: I used two different screws to assemble BMO case and tighten the board on the bottom panel. Both are M3 screws but length of the screws are different. I used 6mm length screws to tighten the Front, Bottom, Back and Side panels. And, 4mm length screws were used for tighten Back cover on the back panel. To put the raspi board on the bottom panel, Both are Okay. I recommend you to use flat head screws to make the case look better. I used the M3 screws for Thinkpad laptop. You can easily find sellers on Amazon.com or aliexpress.com
It's still working project. I will update a bill of materials I used, add some more models for RPi 3, and sensors when they are done. If any comment or suggestion, please let me know.
License:
Creative Commons - Attribution - Non-Commercial




 choinw